Welcome to your guide to accessing SPanel
If you need help or have any queries about getting started with SPanel, then contact us anytime at hello@simrush.com and we will be happy to help. You can find the step by step instructions below.
Login
Visit https://portal.simrush.com to login to SPanel. You should have been provided these details by your re-seller.
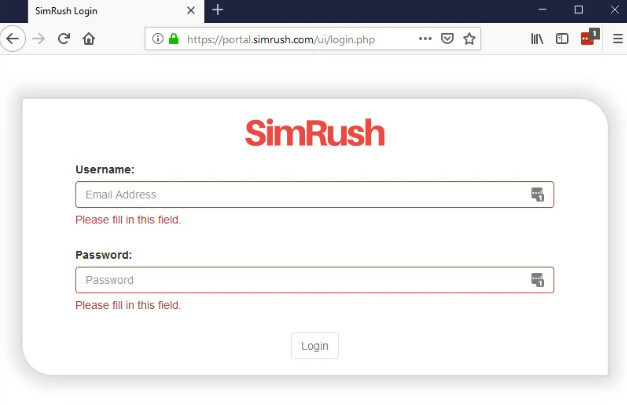
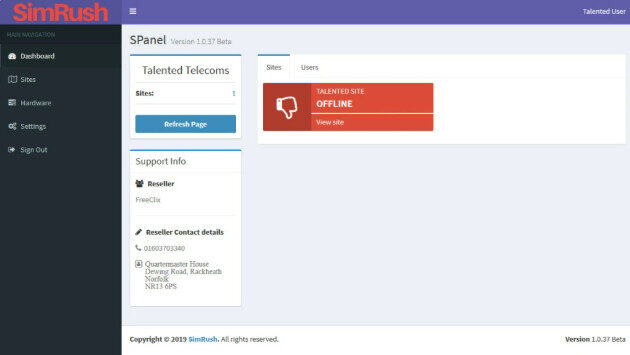
Once successfully logged in you will be prompted to accept the terms & conditions of the portal. Once the T&C’s have been accepted the main dashboard for the portal is displayed.
Managing Sites
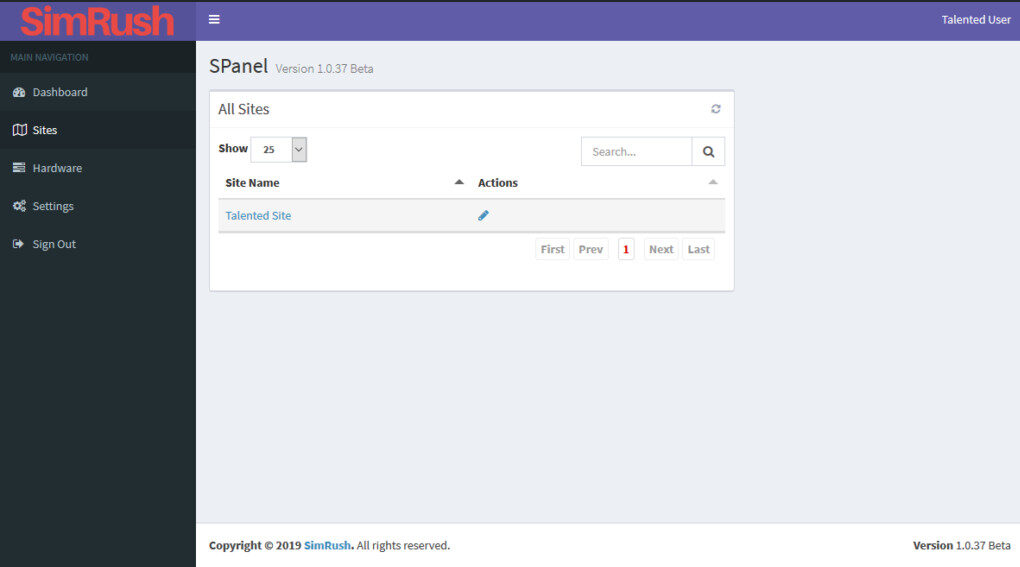
This page shows all the sites are associated with your account – by default you will only have one site. If you own multiple SimRush deployments these will be displayed here as multiple sites.
The sites tab on the left shows all the sites from across your account in a list.
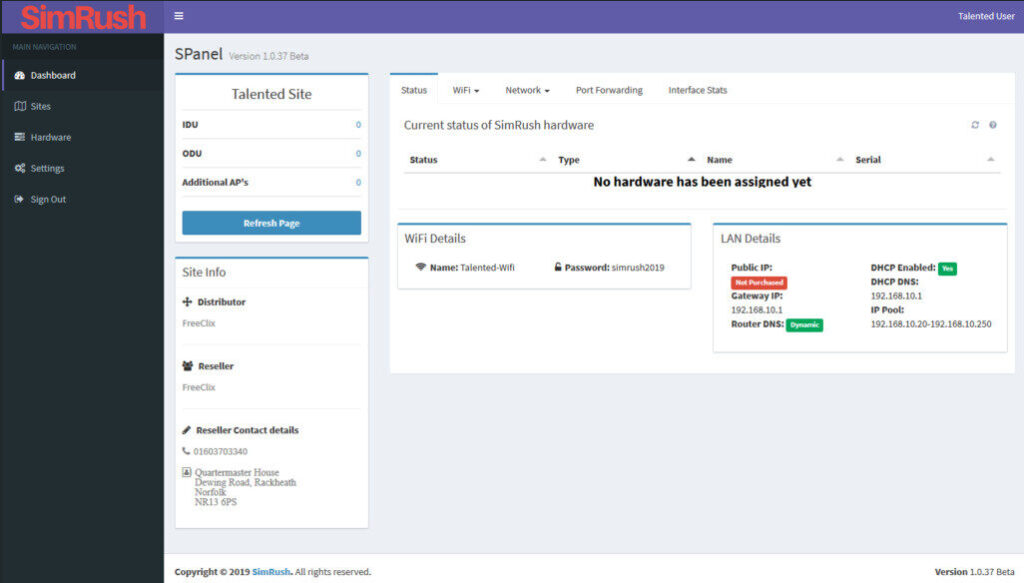
When you select a site, the relevant dashboard for that site will be displayed.
WiFi Settings
You will find all the information related to your SimRush hardware here.
This includes:
- WiFi details – SSID / Password.
- LAN Details – Public IP Address (if purchased), Gateway IP and DHCP information.
- Current status of your IDU (Indoor Unit) Controller and the ODU (Outdoor Unit.)
- Any additional hardware such as cAP’s (Controlled Access Points.)
The tabs across the top of the site enable you to change the settings for your WiFi and LAN.

From the dropdown, click ‘Settings’ and this will show the settings page for the WiFi.

From here you can modify the SSID / Broadcast name of your Wireless network. By default dual band units 2.4GHz and 5GHz will use the same details, if you wish to use different details to distinguish between the two bands, you can also disable the wifi here too.
LAN Settings
On the Network tab under “LAN Settings” you can change the details of your LAN.

On this page, you can change the IP address of your router and modify your DHCP network or disable it if you have another device serving DHCP on your network.
Users
If you wish to allow additional users to login to the portal, you can add users by clicking on the “User” tab on the main dashboard where the sites are listed.

If you need to change the password on a user account, you must login as the user.
Then on the left tab select ‘Settings.’ You will then be able to amend the password in the password field.

How to use the Public IP
If you have purchased the SimRush static public IP service and wish your own device to present as the public address, you’ll need to do the following:
- Log onto SPanel
- Go to your site and click on the Network tab at the top and click on “DHCP Leases”
- Find your device in the DHCP list and click on the Padlock icon to make that device static within the SimRush Controller.

Then go to Network > DHCP Static Reservations.

Your device which you’ve made static should then be in the list. Click on the “Left right” arrow icon at the end to Enable Forwarding.

Restart your device to take the new setting and this will now allow that device to present to the internet as the public IP address attached to your SimRush Controller.
Port Forwarding
If you have purchased a SimRush static public IP address service, you’ll be able to use the port forwarding feature if you are needing to forward specific ports to devices on the LAN side of the network which would not usually be available from the internet (e.g., CCTV camera/NVR).
Here are the steps needed to set up Port Forwarding:
- Log onto SPanel
- Go to your site and click on the Port Forwarding tab
- Click on the + icon to add a new entry
Understanding the Port Forwarding tab
Name – Set this as a friendly name for the entry.
Inbound Port – This is the port on the public side you are wishing to use.
Protocol – This will either be TCP or UDP depending on your rule.
To IP address – This is the device on the LAN side you are wishing to access/forward to.
To Port – This is the Inside port that the device is expecting to be accessed by.
Description – Add a brief description for your own records/notes.
Once the entries are complete the line will flash green briefly (or will show ‘Error’ if there is a problem) and the rule will be active straight away.
DHCP Reservation
If you have devices, you wish to be on the same IP address and not change follow the steps below.
- Log in to SPanel
- Go to your site and click on the Network tab at the top and click on “DHCP Leases”.
- Find your device in the DHCP list and click on the Padlock icon to make that device static within the Controller.

- Then go to Network > DHCP Static Reservations.
This will now show the list of any device which you have made into a static reservation from the DHCP list.

If you have a device which is not being issued with DHCP or that you know the MAC address, you can manually input these details by pressing the + icon.

Contact Us
We hope you have found this guide helpful. If you have any questions at all relating to SPanel, please contact us.
We are always happy to help!
